
Valentine’s Day Insert Cards
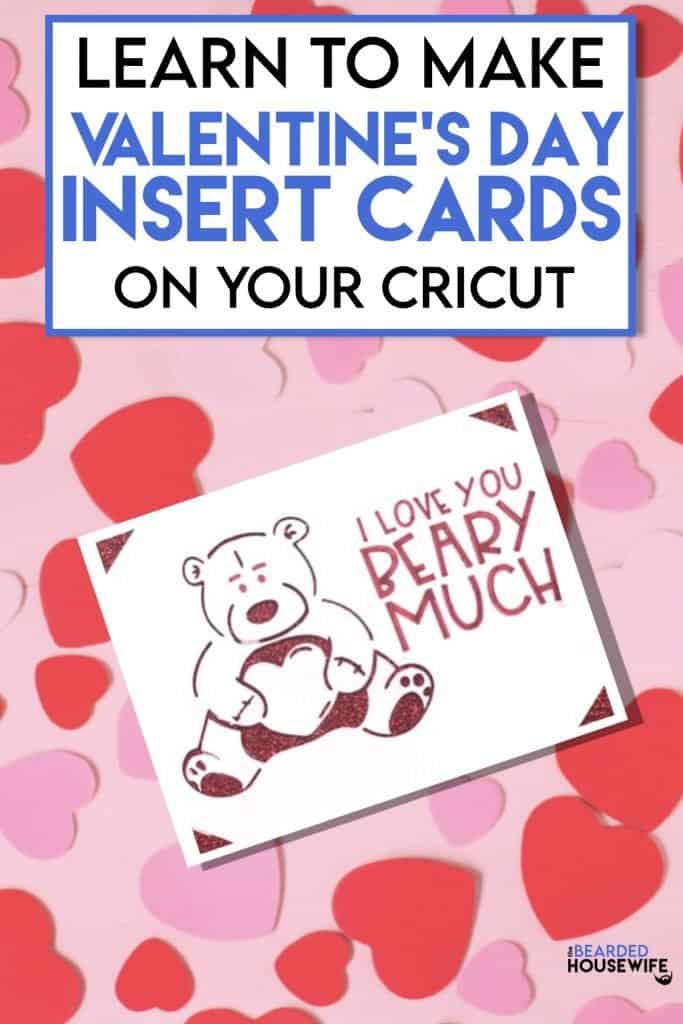
LEARN TO MAKE THESE ADORABLE VALENTINE'S DAY INSERT CARDS ON YOUR CRICUT CUTTING MACHINE
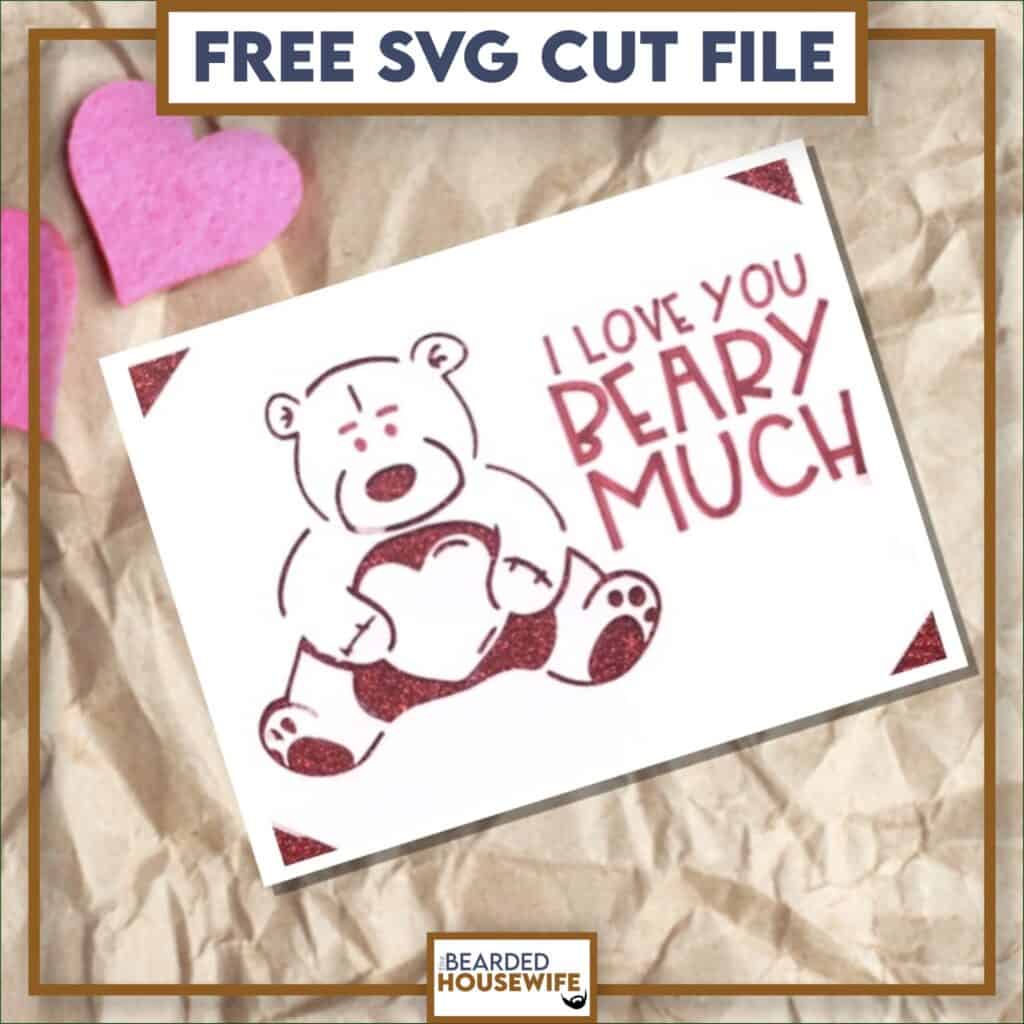
You know I had to show you an adorable Valentine's Day insert card and how “beary” adorable is this one?? I love how to bear turned out and the play on words is so perfect!!
I designed this card to be made using any Cricut, or other brand, cutting machine you have! In the download, you will find two folders inside. One for Maker/Explore and one for Joy.
Note: The version for the Cricut Joy is only the design so it would be best to use Cricut’s Insert Card Packs available at most craft stores! For more information on how to use this design with a Cricut Joy, please take a look at my Cricut Joy New Years Insert Card tutorial!
In this tutorial, I’ll give you my step by step instructions and tell you what materials I think work best when making this project.
This free file can be found in the Free File Library for Free Members.
Basic and Premium Members can download the SVG cut file for this project in the File Library.
Not a Member? Click here or the link at the bottom of the page to join!
This post contains some affiliate links (which means if you make a purchase after clicking a link, I will earn a small commission at no additional cost to you). Read my full disclosure policy here.
VALENTINE'S DAY INSERT CARDS – MATERIALS LIST
- I am using my Cricut Maker. You could also use your Cricut Explore Air 2, Cricut Explore 3, Cricut Maker 3, or Cricut Joy!!
- Cricut StandardGrip Cutting Mat (green)
- Cricut Scoring Wheel or Scoring Stylus
- Cricut Cardstock in your choice of color
- Cricut Glitter Cardstock (optional)
- Cricut Pen. I am using Very Berry.
- Cricut Scraper
- Glue or adhesive like Art Glitter Glue or Crafter’s Tape

Beary Much Valentines Insert Cards
This adorable and fun Valentine's Day card will surely make anyone smile!
Materials
- My FREE I Love You Beary Much Insert Card SVG File
- Cricut Cardstock
- Cricut Glitter Cardstock (optional)
Tools
- A way to cut out your cardstock. I am using my FABULOUS Cricut Maker!
- Cricut StandardGrip Cutting Mat (green)
- Cricut Scoring Wheel or Stylus
- Cricut Pen. I am using Very Berry.
- Glue or adhesive
- Cricut Scraper
Instructions
STEP 1 - DOWNLOAD THE SVG CUT FILE
Download the SVG Cut file for the I Love You Beary Much Insert Card (#63) from The File Vault. Get access by joining the club.
Note: Within the download, you will find two versions of this card. One for the Maker/Explore and one for the Joy. For this tutorial, I will be using the Maker/Explore version. You choose based on your machine!
STEP 2 - UPLOAD THE SVG FILE TO CRICUT DESIGN SPACE
If you aren't familiar with uploading SVG files into Design Space, take a look at my quick and easy tutorial here. Using your smartphone? Click here for my step-by-step guide on uploading SVG files with the Cricut App.
Everything has been set for you. All you need to do once the design has been imported into Design Space is click the green MAKE IT button.

STEP 3 - MAKE YOUR MATERIAL SELECTIONS AND PREPARE YOUR MATS
You will see the three layers for this card in the mat preview. Click the CONTINUE button.

For this tutorial, I am using Medium Cardstock. Select your materials accordingly.
Attach your cardstock to the Cricut StandardGrip Mat.
STEP 4 - LOADING YOUR MATS AND CUTTING YOUR MATERIALS
To load the mat into the machine, press the double arrows button. Do make sure that the mat is positioned under the mat guides.

Hit the "C" button once it begins to flash and you are on your way to creating your card! Follow the prompts in Design Space on when to change out the different tools.

Repeat Step 4 until all layers have been cut.
STEP 5 - ASSEMBLE YOUR CARD
Now that all layers have been cut, you can assemble this card.

Begin by folding along the score line of the outer card layer.

Press the fold with your scraper.

Now, carefully place the card insert layer into the tabs in the outer card layer.

Add a small amount of glue or adhesive to any portions of the outer layer that may be curling a little. This is something I do for all my insert cards but is totally optional.

Your card is done.

I have also included an envelope file for you to use.
To make the envelope, fold along the score lines then add adhesive to the inner tabs and press closed.
One thing I love about this card is it's versatility. It is perfect for Valentine's Day, yes, but also any occasion throughout the year!
I just know anyone who receives this card will smile. Isn't that what card making is all about?
Post a photo in the comment section or tag your projects on social media @thebeardedhousewife using the hashtag #beardedhousewife! I’d love to see how yours turn out!!
Happy Valentine's Day,

WANT THE FREE SVG TO MAKE THIS PROJECT YOURSELF?
SIGN UP FOR A FREE ACCOUNT AND GET ACCESS TO THIS CUT FILE AND OVER 50 MORE PLUS OUR EXCLUSIVE COMMUNITY!
WANT TO REMEMBER THIS POST FOR LATER? PIN THIS POST TO YOUR FAVORITE PINTEREST BOARD!
LOVE your insert cards and how you can make them on the maker as well! Can you please do a tutorial teaching how to write inside the card? Would love to learn how to do that!
Heena,
Thank you so much! I am glad you like the insert cards. To answer your question, I will do a tutorial on writing on the inside of the cards soon. I have also briefly discussed this on my Facebook page in a video I did for the Clay-Pot Santa.
Stay tuned for that how to on writing! Thanks for the suggestion!
Nick
I am having an issue with the Beary Valentine insert card, When I load it and click Make It, there is no drawing with a pen or scoring. Is there a way I can send you a picture of what my screen looks like when I load the card and then the mats to get help because I love following along and making these
Brenda,
This project was made before the update that prevents me from having preset draw and score lines.
When you upload the project, ungroup the design. Find the text, change it to pen under the operation menu. Find the score line, change it to score. Then attach the group together.
This should make the card as I had intended it.
Let me know if you need any more help. 😊
Hi Nick! I love this Valentine card, I am having trouble after I have extracted it, I get an error message that the file is empty. I usually have no problems unzipping and extracting. Can you help?
Alice, can you email me a screenshot? That way I can help you better. hello@thebeardedhousewife.com
I can not get this to have a clean cut. I have tried several times, with different mats, and new blade.
I’m sorry to hear that, Alison. Are you using a brayer to adhere the cardstock to the mat?
Is it possible the change the “I Love You” into “Thank You” to make it a thank you card instead of a valentine?
I’m not sure what I done wrong but my card didn’t turn out quite like it should have, lol
Pic to follow soon