
Adorable Fall Diorama Cards


LEARN TO MAKE ADORABLE DIORAMA CARDS FOR FALL USING YOUR CRICUT CUTTING MACHINE
Okay! I have to admit… this card is just so darn cute. It is such a happy little scene tucked into a cool card design.
Now, I knew I wanted to make this style card but I didn't know what kind of scene I was going to create yet.
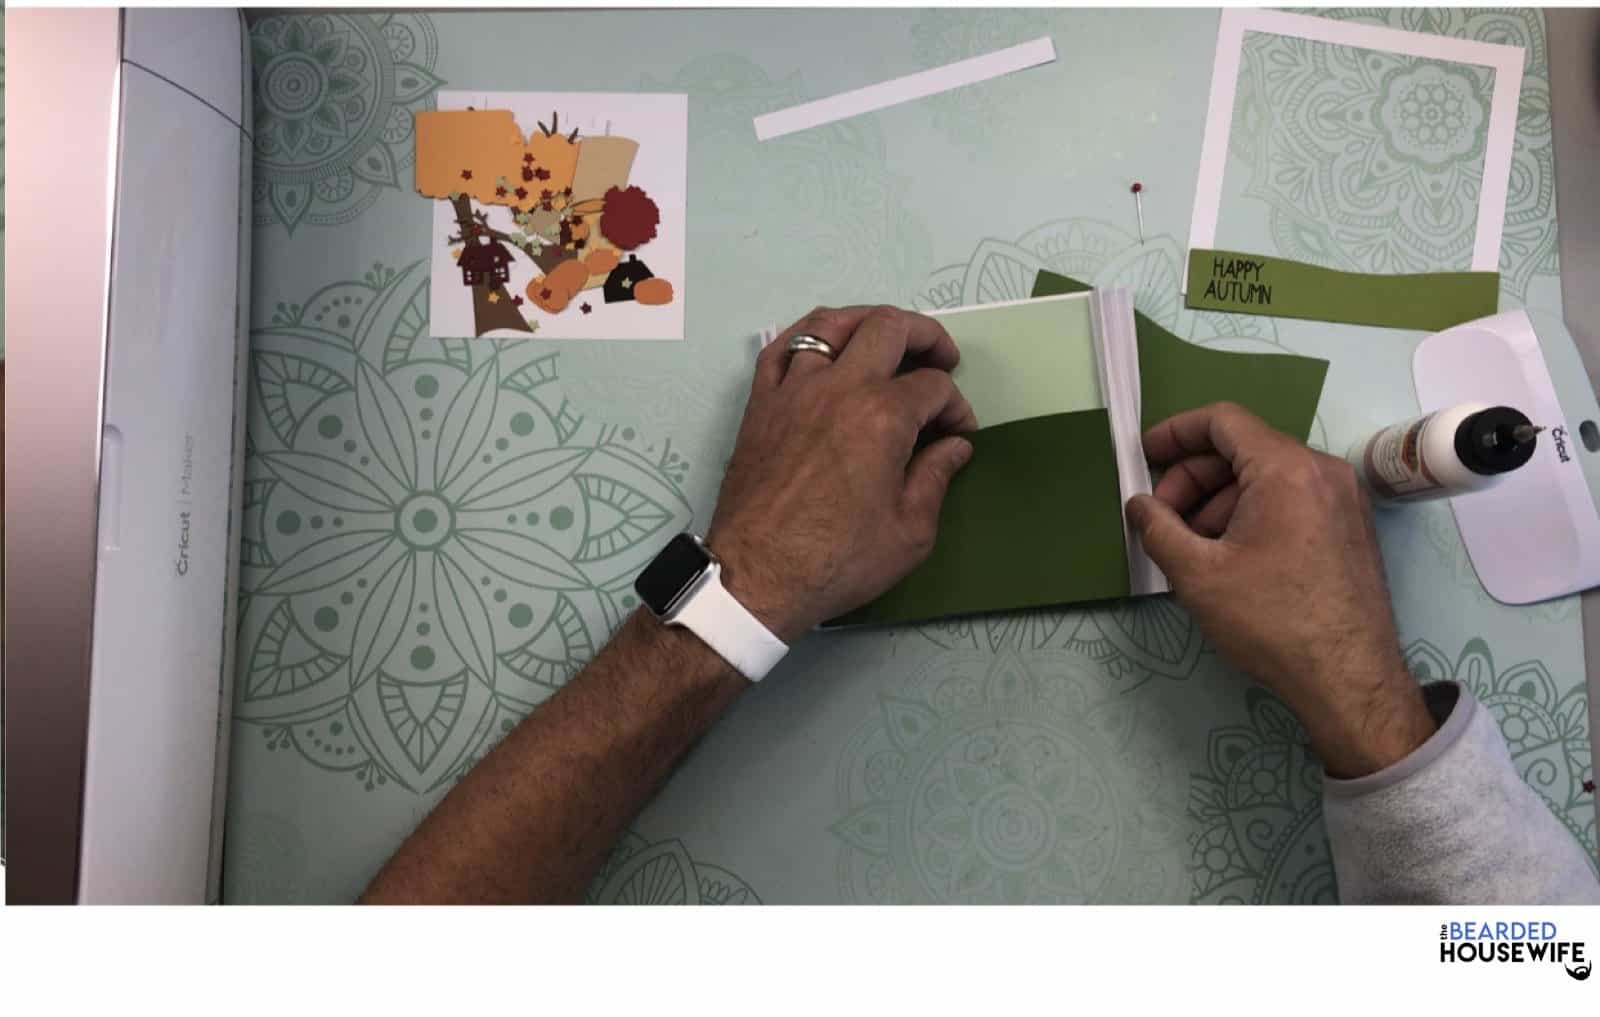
Well, I ordered a cardstock pack full of fall colors from Amazon and, when it arrived, I honestly fell in love with the little scene that was pictured on the front!

I thought it would not only be perfect for the diorama card I wanted to make but all the colors I use in the tutorial are in the pack of cardstock!
So, I fired up my vector design software and drew out my own version of this scene for you to enjoy in this adorable card along with a cute sentiment and other layers.
LOVE IT!
The card base can fold relatively flat for mailing with the envelope that I include in the download or you can leave it as is and place in one of my envelope boxes. Up to you!
In this tutorial, I’ll give you my step by step instructions and tell you what materials I think work best when making this project.
Basic and Premium TBH Crafters Club Members can download the SVG cut file for this project in the File Library.
Not a Member? Click here or the link at the bottom of the page to join!
This post contains some affiliate links (which means if you make a purchase after clicking a link, I will earn a small commission at no additional cost to you). Read my full disclosure policy here.
FALL DIORAMA CARD – MATERIALS LIST
- I am using my Cricut Maker. You could also use your Cricut Explore Air 2, Cricut Explore 3, or Cricut Maker 3!
- Cricut LightGrip Cutting Mat (blue) or Cricut StandardGrip Cutting Mat (green)
- Cricut Scoring Wheel or Scoring Stylus
- Cardstock in your choice of fall colors. I am using my white cardstock for the card base and this Autumn Pack from American Crafts.
- Glue or Adhesive
- Cricut Brayer
- Cricut Scraper
- Cricut Tweezers (optional but invaluable in my opinion!)

Fall Diorama Card
This tutorial will show you how to create a detailed fall scene in a fun pop up card!
Materials
- My Fall Diorama Card SVG Cut File
- White Cardstock
- Cardstock in your choice of fall colors.
- Glue or adhesive
Tools
- A way to cut out your cardstock. I am using my FABULOUS Cricut Maker!
- Cricut LightGrip Cutting Mat (blue) or StandardGrip Cutting Mat (green)
- Cricut Scoring Wheel or Stylus
- Cricut Brayer
- Cricut Scraper
- Cricut Tweezers (optional but so helpful!)
Instructions
STEP 1 - DOWNLOAD THE SVG CUT FILE
Download the SVG Cut file for the Fall Diorama Card (#92) from The File Vault. Get access by joining the club.
STEP 2 - UPLOAD THE SVG FILE TO CRICUT DESIGN SPACE
If you aren't familiar with uploading SVG files into Design Space, take a look at my quick and easy tutorial here. Using your smartphone? Click here for my step-by-step guide on uploading SVG files with the Cricut App.
STEP 3 - UNGROUP CARD LAYERS
The file will upload into Cricut Design Space grouped together. You will want to hit the UNGROUP button to separate the layers.

STEP 4 - CONVERT FOLD LINES TO SCORE LINES
Scroll down the list in the LAYERS panel and find the card base. Click the fold line.

Change the fold lines to score lines by changing the OPERATION from BASIC CUT to SCORE.

Attach the score line and the card piece by highlighting the GROUP the card layer is under and selecting the ATTACH option in lower right hand corner.

STEP 5 - CONVERT TEXT FROM CUT TO DRAW
Scroll down the list in the LAYERS panel and find the front grass layer. Click the text.

Change the text by changing the OPERATION from BASIC CUT to PEN.

Attach the text and the card piece by highlighting the GROUP the sentiment is under and selecting the ATTACH option in lower right hand corner.

Click the GREEN Make It Button.

STEP 6 - MAKE YOUR MATERIAL SELECTIONS AND PREPARE YOUR MATS
You will see the nineteen layers for this card in the mat preview.
Click the CONTINUE button.

For this tutorial, I am using Medium Cardstock. Select your materials accordingly.

Attach your cardstock to the Cricut StandardGrip Mat using the Cricut Brayer.
STEP 7 - LOADING YOUR MATS AND CUTTING YOUR MATERIALS
To load the mat into the machine, press the double arrows button. Do make sure that the mat is positioned under the mat guides.

You will know the machine is ready to cut your material when you see the flashing "C" button. Press that to start the cut.

Follow Design Space prompts to change out the scoring wheel, pen, and fine point cutting blade.
Once the cut is complete, make sure to peel the mat away from the cardstock rather than the cardstock from the mat. This will prevent any curling of your design.
Repeat Step 7 for until all layers have been cut.
STEP 8 - ASSEMBLE YOUR CARD
Now that everything is cut, we can start to assemble the card.

Begin by folding one side of the card base along the score lines. Start by having the tab face away from you and continue folding in an accordion style.


Repeat this for the other side of the card base.

Once you have finished folding and burnishing the score lines, you should have three mountain folds and three valley folds on each side of the card base.


These valley folds will be the tabs that we adhere all of our layers to.

Next, add glue or adhesive to the back of the sky layer.

Now, with the card base facing up, attach the sky layer to the back of the card base.

Start adding the grass layers to the card base in a descending fashion from largest in the back to smallest in the front.
To do this, add glue to only the left and right sides of the grass layers.

Place the largest grass layer on the back set of tabs.
Repeat this step with the medium sized grass layer on the second set of tabs. Make sure to press the sides of the card base down after every application.

For the smallest grass layer with the sentiment on it, add glue to the sides and bottom.

Apply to the bottom of the frame making sure to line up the edges.

Flip the frame over and only add glue to the left and right sides.

Apply the frame to the card base on the remaining tabs created by the accordion folds. Make sure to line up your edges and give the card a good press with your hand when done.

Now, take the bridge piece and add glue to the sides.

Adhere the bridge piece at the top of the back set of tabs. These are the tabs that the largest grass section is adhered to.

Make sure to line up the top edge so the bridge is hidden by the frame.

Now we can assemble the embellishments.
Start by adding glue to the back of the tree trunks and placing on top of the foliage.


Next, layer and glue the schoolhouse together. From back to front the order is black layer, red layer, cream (roof) layer.


Now, time to layer together the pumpkins. Add glue to the centers of the orange layers and add the yellow ovals on top.

Then, glue on the stems.

Now it is time to assemble our scene.
Place and glue the pathways on their respective layers as shown.

Apply glue to the bottom back of the school house and place on top of the hill.

Add glue to the bottom front of the small tree trunk and adhere into place behind the second grass layer.
Note: The tree trunks are larger at the bottom to add stability once glued into place.

Now, add glue to the bottom front of the large tree as well as the top back edge of the foliage.
Adhere the trunk to the back of the second grass layer and the foliage to the bridge layer making sure to line up the top edges.

Add the fence pieces to the scene.
The larger fence portion should go in front of the large tree. The small fence portion should go to the right of the front path.


Place three dots of glue to the sky layer and layer the clouds on top. The Cricut Tweezers are great for this!

Now, add glue to the backs of the pumpkins and apply into place.


Finally, just as we did with the clouds, add dots of glue along the large tree foliage and any where on the ground you would like the leaves. Then, using the tweezers again, place the leaves on top of the glue.

Your card is complete.

Write your message on the back.

You can fold it relatively flat and mail in the envelope available within the download or use one of my envelope boxes to gift this adorable card!

Enjoy!
Not only will this card make a great little gift, it can also act as fall decor! I just love how it can stand up and the depth and dimension is so cute.
Post a photo in the comment section or tag your projects on social media @thebeardedhousewife using the hashtag #beardedhousewife! I’d love to see how your cards turn out!
Happy Crafting!

WANT TO MAKE GREETING CARDS AND PAPERCRAFTS ON YOUR CRICUT?
JOIN THE BEARDED HOUSEWIFE CRAFTERS CLUB TO GAIN ACCESS TO HUNDREDS OF SVG CUT FILES, PROJECTS, AND OUR EXCLUSIVE COMMUNITY!
WANT TO REMEMBER THIS POST FOR LATER? PIN THIS POST TO YOUR FAVORITE PINTEREST BOARD!
Love this! It was a great way to use scraps. I made the leaves out of sticker paper I had colored with markers so that there were many shades and so easy to attach. I also used a scrap of scrapbook paper with sunflowers that gave texture to the leaves.
I’m so glad! I’d love to see pictures!!
This looks so neat! I can’t wait to make it. 🙂
I can’t wait to see yours, Chris!
Just found your blog looking for fall cards, and wow, your work is great! I love that you take the time to go through the Cricut Design steps on each tutorial, as I always tend to get confused without!
I signed up for your awesome library w/ password but getting 403 Forbidden when clicking any file. Any idea how I can fix this? Thanks!
Hi, Cat!
Thank you for the compliment!
I have been running some maintenance today on the backend of my site but everything in the library is working as it should. I just checked on two devices.
Can you clear your cache and let me know if that helps at all?
Thanks!
That worked perfectly, I was able to get into it today no problem! Thank you so much for your help, I’ve been working on this card all afternoon to send it out before Thanksgiving is upon us! It’s so cute and so charming, thank you again for making it and sharing!
My pleasure, Cat!
Where can i find this svg file….
HOW!? How do you come up with these ideas and execute them! And so well! I love coming to your website and drooling over all these amazing things! Thank you for putting them out there so I can feel more creative!