
Cricut Foil Transfer Tool Basics


LEARN THE BASICS ON THE NEW FOIL TRANSFER TOOL FROM CRICUT AND MAKE A SIMPLE CARD
Cricut has released a new tool called the Foil Transfer Tool, available in a kit. If you haven't heard, this awesome tool can foil onto a variety of materials using pressure instead of heat! How cool!
Now, with a new tool, there is always a lot of questions about them. In this blog post, I will go over the basics of how to use the foil transfer tool, some tips and tricks I have to help you make the most out of your foiling, and a simple craft project tutorial!
Let's get started!
THE BASICS
COMPATIBILITY
This tool is compatible with the Cricut Maker and the Cricut Explore series machines only. Cricut Joy users can check out the Cricut Joy Foil Transfer Tool.
THREE TOOLS IN ONE
The Foil Transfer Tool has three tips that are included in the kit. The sizes are differentiated by lines engraved into the tip. Here is an overview of each tip:
Fine (one line), Medium (two lines), and Bold (three lines).

Now, I will say that I like the Bold the best, however, the more intricate your design is, you will need the thinner tips!
For an example of a beautiful yet intricate design using the Foil Transfer Kit, check out my blog post and tutorial making Foil Mandalas.
COMPATIBLE MATERIALS
You can foil on a variety of different materials using this new tool. Add foiling to cardstock, faux leather, adhesive backed paper, printable vinyl, watercolor paper, vellum, foil embossed paper, and even Kraft board. You can even foil multiple colors! A silver and gold themed card would be pretty for Christmas or green and gold for St. Patrick's Day. So many possibilities!
Keep in mind that the smoother your materials are, the smoother your foiling will be.
Like the Knife Blade, the Foil Transfer Tool is only compatible on Cricut Design Space for desktop or laptop. You will not be able to use mobile with this new tool.
Like the Knife Blade, the Foil Transfer Tool is only compatible on Cricut Design Space for desktop or laptop. You will not be able to use mobile with this new tool.
DESIGN SPACE INTEGRATION
With this tool, you are able to combine multiple linetypes in one project thanks to it being fully integrated in Cricut Design Space. That means you can foil, draw, cut, and score all in the same project! WOW!!!
EASE OF USE
To use the Foil Transfer Tool, select the tip you would like. You will get a preview of how the different tips alter your design in Design Space.
Press the plunger on the tool and insert your tip. Release the plunger and your foil transfer tool is ready to use.
Now, insert the tool into CLAMP B of your Maker or Explore Air 2 and that's it! Apply the included tape to secure the foil over your materials and you are ready to foil to your heart's content!
MY TIPS AND TRICKS FOR THE FOIL TRANSFER TOOL
- Be sure to tape down all four sides when securing the foil. The tape can be reused.
- If you should run out of the included tape, yes it happened to me, you can use painter's tape! It is low tack enough that it won't transfer the foil and it is easy to remove!
- You want the foil to be slightly taut over your material. Too loose may inhibit your results.
- When adding your tape, there is a bit of static electricity with the foil. To help with this, I like to place my pinky or ring fingers on the foil as I am laying the tape to prevent the tape from sticking to the foil where you don't want it!
- As your machine is applying the foil, you will hear some noises you haven't heard! It will sound like the material and foil is breaking or crinkling. There is nothing to worry about. Let your machine do it's thing and admire your beautiful work when it's complete!
- Move your star wheels to the side while foiling. You don't want them to cause any unwanted foil lines!
- If you DO get foil where you don't want it, you can remove it with a simple school eraser.
- After you have completed your entire project (foiling, cutting, scoring, etc), your material will be extra stuck to your mat. To avoid curling, flip your mat over and peel the mat away from your material. Do this slowly. No need to rush.
- You can reuse your foil. Now, you won't be able to save the area that you have transferred. However, you cut around the used area and save your scraps!
LET'S MAKE A SIMPLE FOILED CARD
In this tutorial, I’ll give you my step by step instructions and tell you what materials I think work best when making this project.
This post contains some affiliate links (which means if you make a purchase after clicking a link, I will earn a small commission at no additional cost to you). Read my full disclosure policy here.
To create this project, I used Cricut Design Space and an image from Cricut Access. In order to make this project, you will need a subscription. If you are not a member of Cricut Access, you can join here.
SIMPLE FOILED CARD – MATERIALS LIST

Simple Card using the Foil Transfer Tool
This is a great project to help you get aquainted with the new Foil Transfer Tool from Cricut!
Materials
- Cricut Foil Transfer Sheets (included in your kit)
- Cricut Cardstock
- Adhesive or glue. I am using Crafter's Tape.
Tools
- A way to apply your foil. I am using my FABULOUS Cricut Maker
- Cricut Foil Transfer Kit
- Cricut Scoring Wheel or Scoring Stylus
- Cricut StandardGrip Cutting Mat (green)
- Cricut Brayer
- Cricut Scraper
- Cricut Pen. I am using Black.
Instructions
This tutorial uses a project fully designed by myself using images from Cricut Access. You will need a subscription to Cricut Access in order to make this project. If you are not a Cricut Access member, you can sign up here.
STEP 1 - OPEN THE PROJECT IN CRICUT DESIGN SPACE
You can find the project for this Simple Foil Card (#42) in The File Vault. Get access by joining the club.
Click the hyperlink to open the project in Cricut Design Space on your desktop or laptop.
Remember, the Foil Transfer Tool is not compatible with mobile!
Once you have your project open, it will look like this.

Click the GREEN Make It Button.

Note: You can bypass this extra step by selecting MAKE IT from the preview screen.
STEP 2 - MAKE YOUR MATERIAL SELECTIONS AND PREP YOUR MAT
For this project, I am using Cricut Medium Cardstock.

STEP 3 - LOADING YOUR MATS AND FOILING/CUTTING THE IMAGE
Once you have placed your foil ready to go, load the cutting mat into the machine by pressing the flashing ARROW button.
You will know the machine is ready to start the cut when you see the flashing "C" button. Press that to start.
Change your tools when prompted by Design Space.
After your inner card layer is cut, load your outer card layer onto the StandardGrip Cutting Mat.
Load into the machine and score your card.
Once scoring is complete, get your Foil Transfer Tool ready.
To do this, press the plunger.

Insert the BOLD tip.

Release the plunger.

Insert your Foil Transfer Tool into CLAMP B.
Next, lay your piece of foil down over the cardstock.

Add a piece of the included tape to one side of the foil.

Continue until all sides are secured to the cardstock.

Click the flashing "C" button the begin foiling.
Once your machine has finished foiling your card, remove the tape. DO NOT PRESS THE UNLOAD BUTTON AT THIS TIME!

Remove the foil transfer sheet from your cardstock.

Swap out the Foil Transfer Tool for the Fine Point Cutting Blade.

Press the flashing "C" button to finish the cut.

After the cut has completed, unload the mat.
To release the card, flip the mat over.

Roll the mat away from the card, not the card from the mat. This will help prevent any curling.

STEP 4 - ASSEMBLE YOUR CARD
Begin by folding the inner card layer along the score line.

Press with your scraper.

Next, fold the outer card layer along the score line.

Press with your scraper.

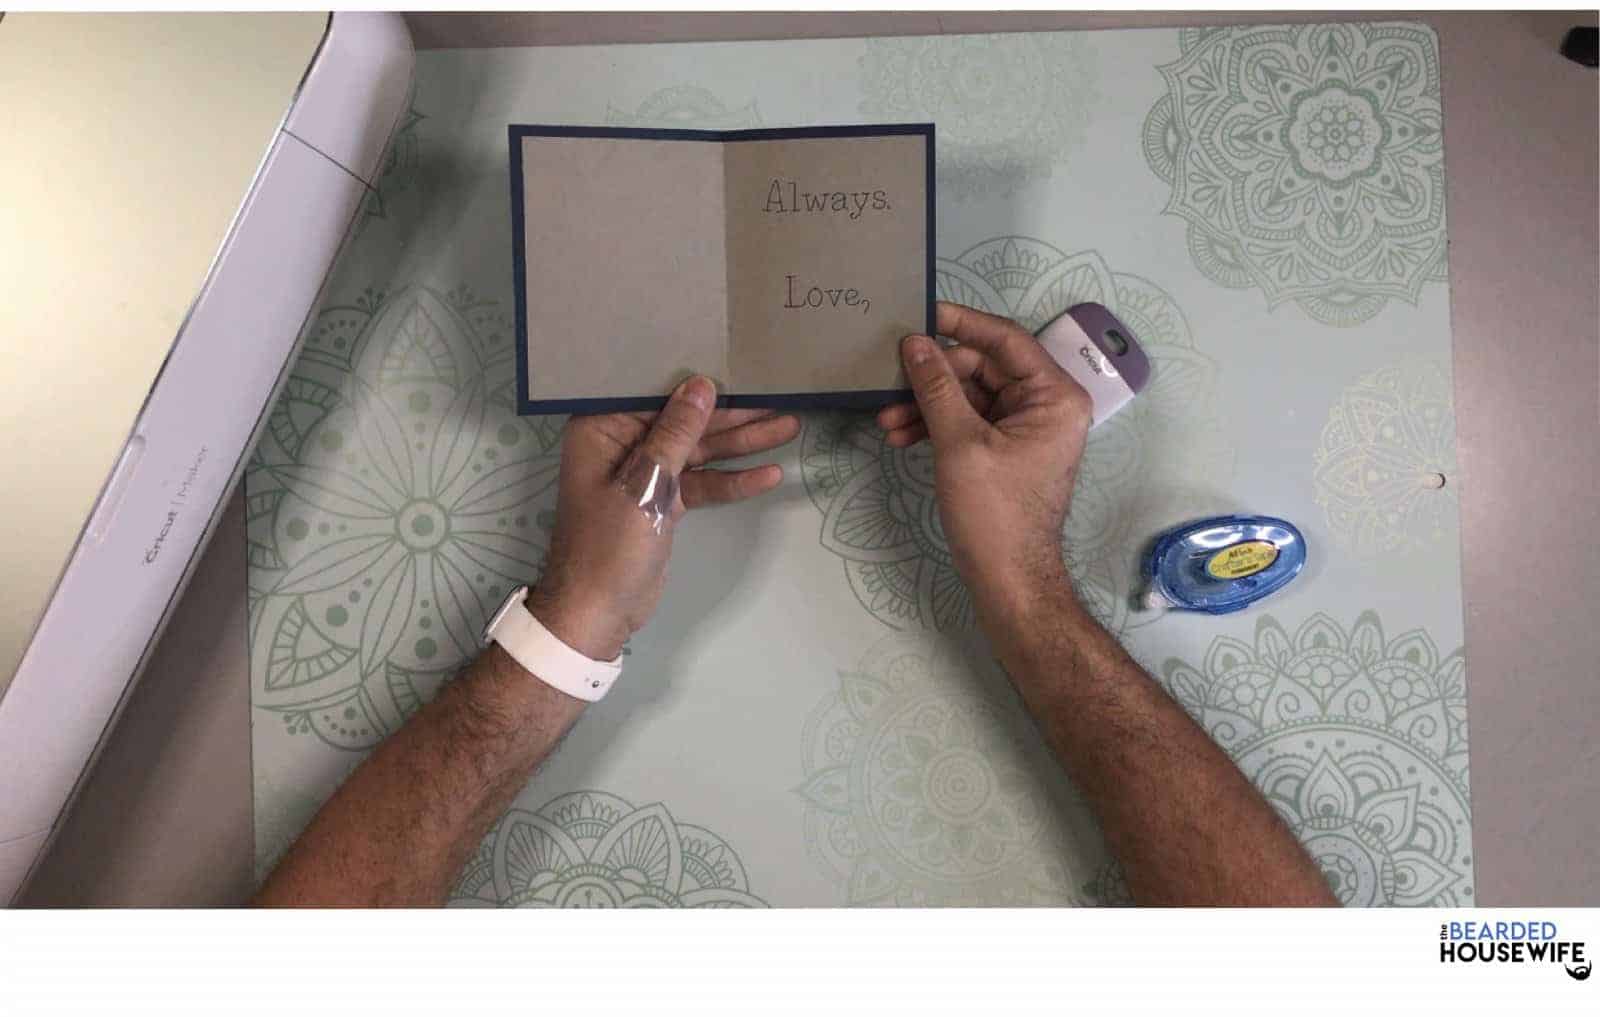
Add adhesive to one side of the inner card layer.

Insert into the outer card.

Press to adhere.

Repeat this for the other side.


Your card is now complete. Here is the outside.

And the inside.
Enjoy!
Isn't the foil so pretty? It really adds some sparkle to your cards! I hope you try this project!
Post a photo in the comment section or tag your projects on social media @thebeardedhousewife using the hashtag #beardedhousewife! I’d love to see how yours turn out!!
Love,

WANT TO MAKE GREETING CARDS AND PAPERCRAFTS ON YOUR CRICUT?
JOIN THE BEARDED HOUSEWIFE CRAFTERS CLUB TO GAIN ACCESS TO HUNDREDS OF SVG CUT FILES, PROJECTS, AND OUR EXCLUSIVE COMMUNITY!
WANT TO REMEMBER THIS POST FOR LATER? PIN THIS POST TO YOUR FAVORITE PINTEREST BOARD!
Responses