
How to Make Cute Dolphin Layered Paper Crafts

LEARN HOW TO MAKE FUN PAPER CRAFTS FOR SUMMER ON YOUR CRICUT CUTTING MACHINE
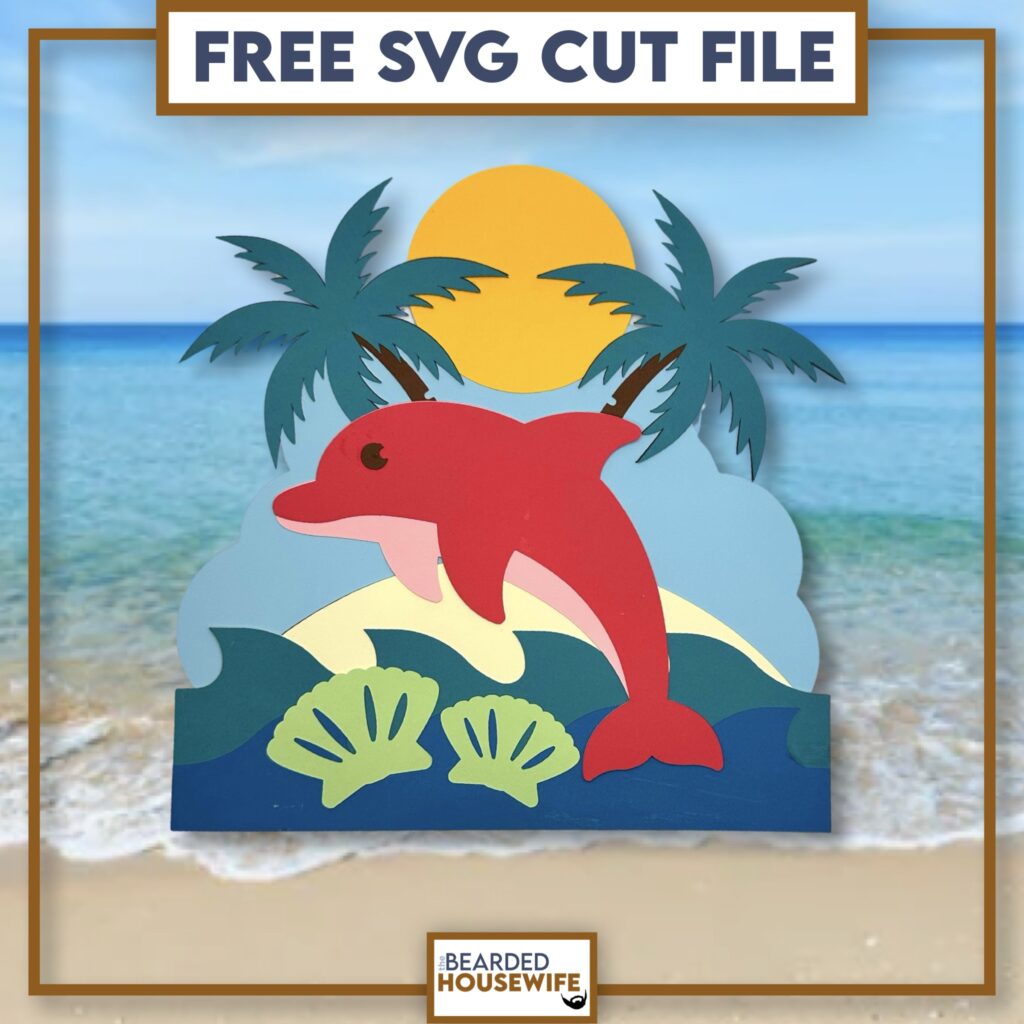
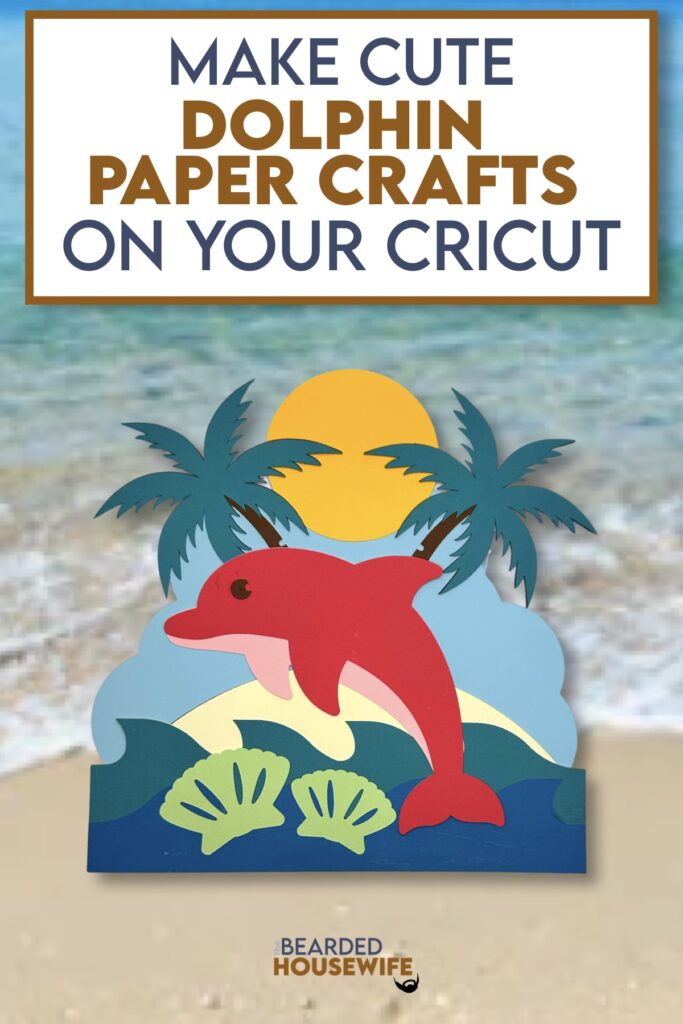
This little dolphin is so cute jumping out of the water.
I went with more vibrant and bright colors but you could of course use any paper you would like.
In this tutorial, I’ll give you my step by step instructions and tell you what materials I think work best when making this project.
This free file can be found in the Free File Library for Free Members.
Basic and Premium Members can download the SVG cut file for this project in the File Library.
Not a Member? Click here or the link at the bottom of the page to join!
This post contains some affiliate links (which means if you make a purchase after clicking a link, I will earn a small commission at no additional cost to you). Read my full disclosure policy here.
DOLPHIN LAYERED PAPER CRAFT – MATERIALS LIST
- I am using my Cricut Maker. You could also use your Cricut Explore Air 2, Cricut Explore 3, or Cricut Maker 3!!
- Cricut Scoring Wheel or Scoring Stylus
- Cricut StandardGrip Cutting Mat (green)
- Cardstock. I am using my standard white cardstock, blue, cream and brown, red and pink, and yellow and orange.
- Glue or adhesive
- Cricut Scraper
- Cricut Brayer

Dolphin Layered Paper Craft
This tutorial will show you how to make a fun paper craft for summer.
Materials
- My Dolphin Layered Paper Craft SVG Cut File
- Cardstock
- Foam Squares (optional)
- Glue or adhesive
Tools
- A way to cut out your cardstock. I am using my FABULOUS Cricut Maker but you can use any current Cricut machine.
- Cricut StandardGrip Cutting Mat (green)
- Cricut Brayer
- Cricut Scraper
Instructions
STEP 1 - DOWNLOAD THE SVG CUT FILE
Download the SVG Cut File for the Dolphin Layered Paper Craft(#1068) from the File Library. Free members can download the cut file from the Free Library. Not a member? Click here to join.
STEP 2 - UPLOAD THE SVG FILE TO CRICUT DESIGN SPACE
If you aren't familiar with uploading SVG files into Design Space, take a look at my quick and easy tutorial here. Using your smartphone? Click here for my step-by-step guide on uploading SVG files with the Cricut App.
STEP 3 - RESIZE DESIGN (OPTIONAL)
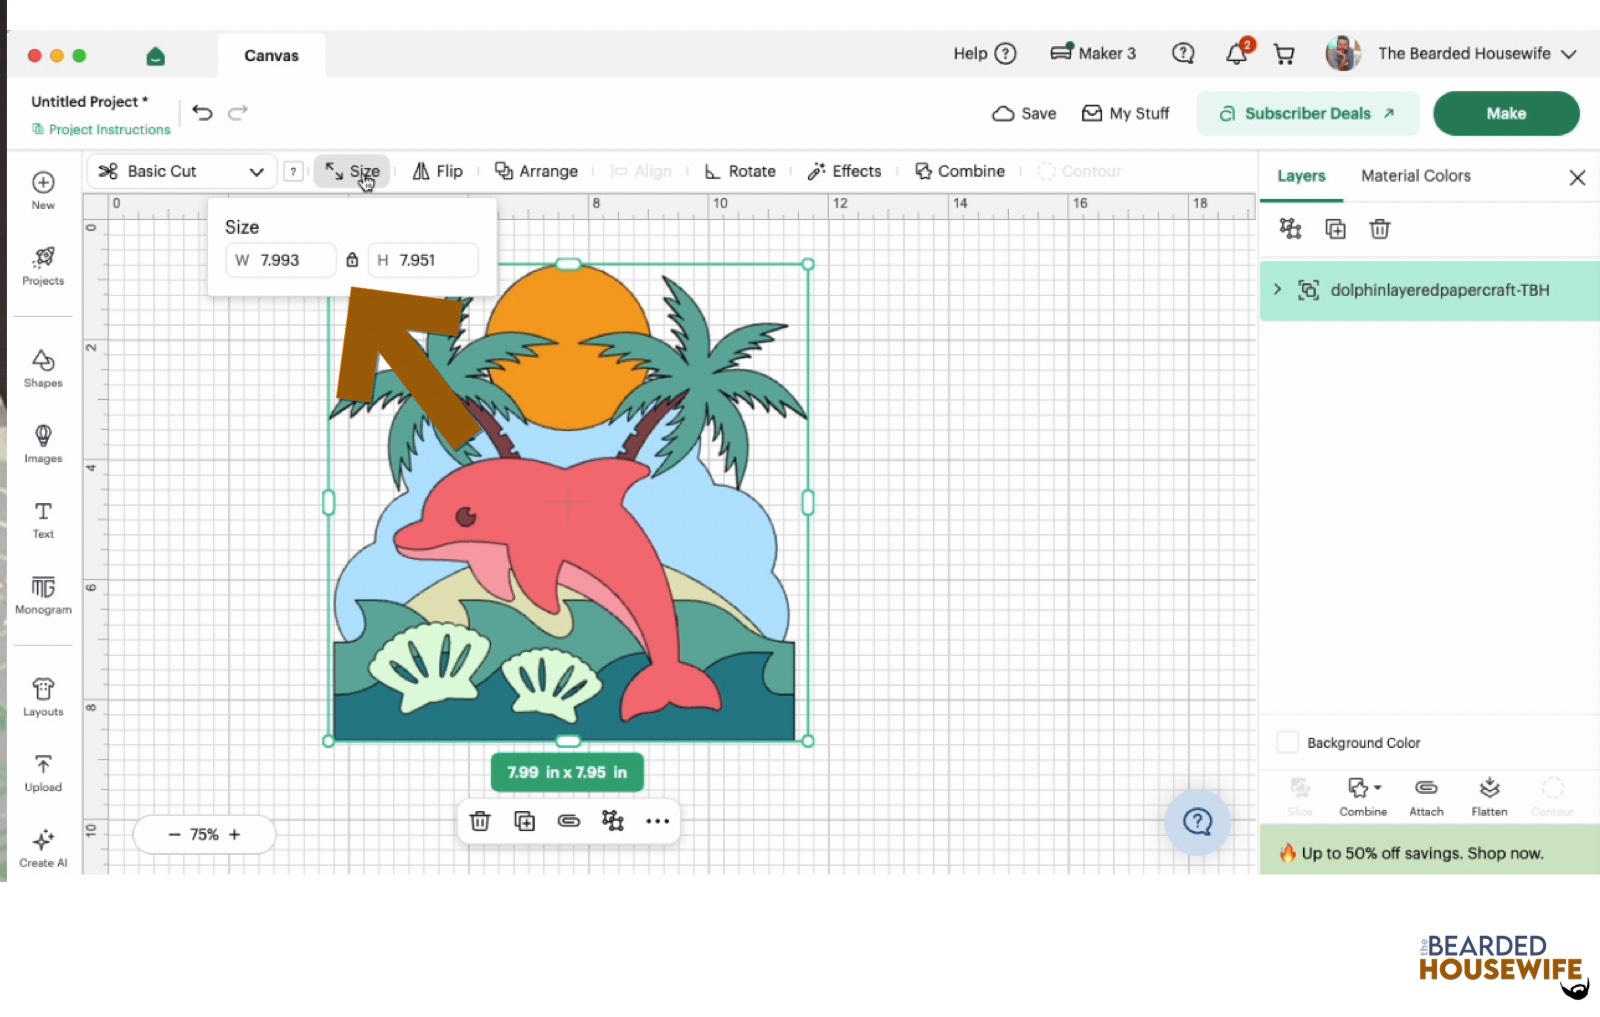
I have sized the project to fit on 8.5 x 11 cardstock. If you want to resize the project, follow these steps.
Using the sizing bar, resize your shadow box to the inner dimensions of the shadow box you are using. Make sure to leave the proportions locked.
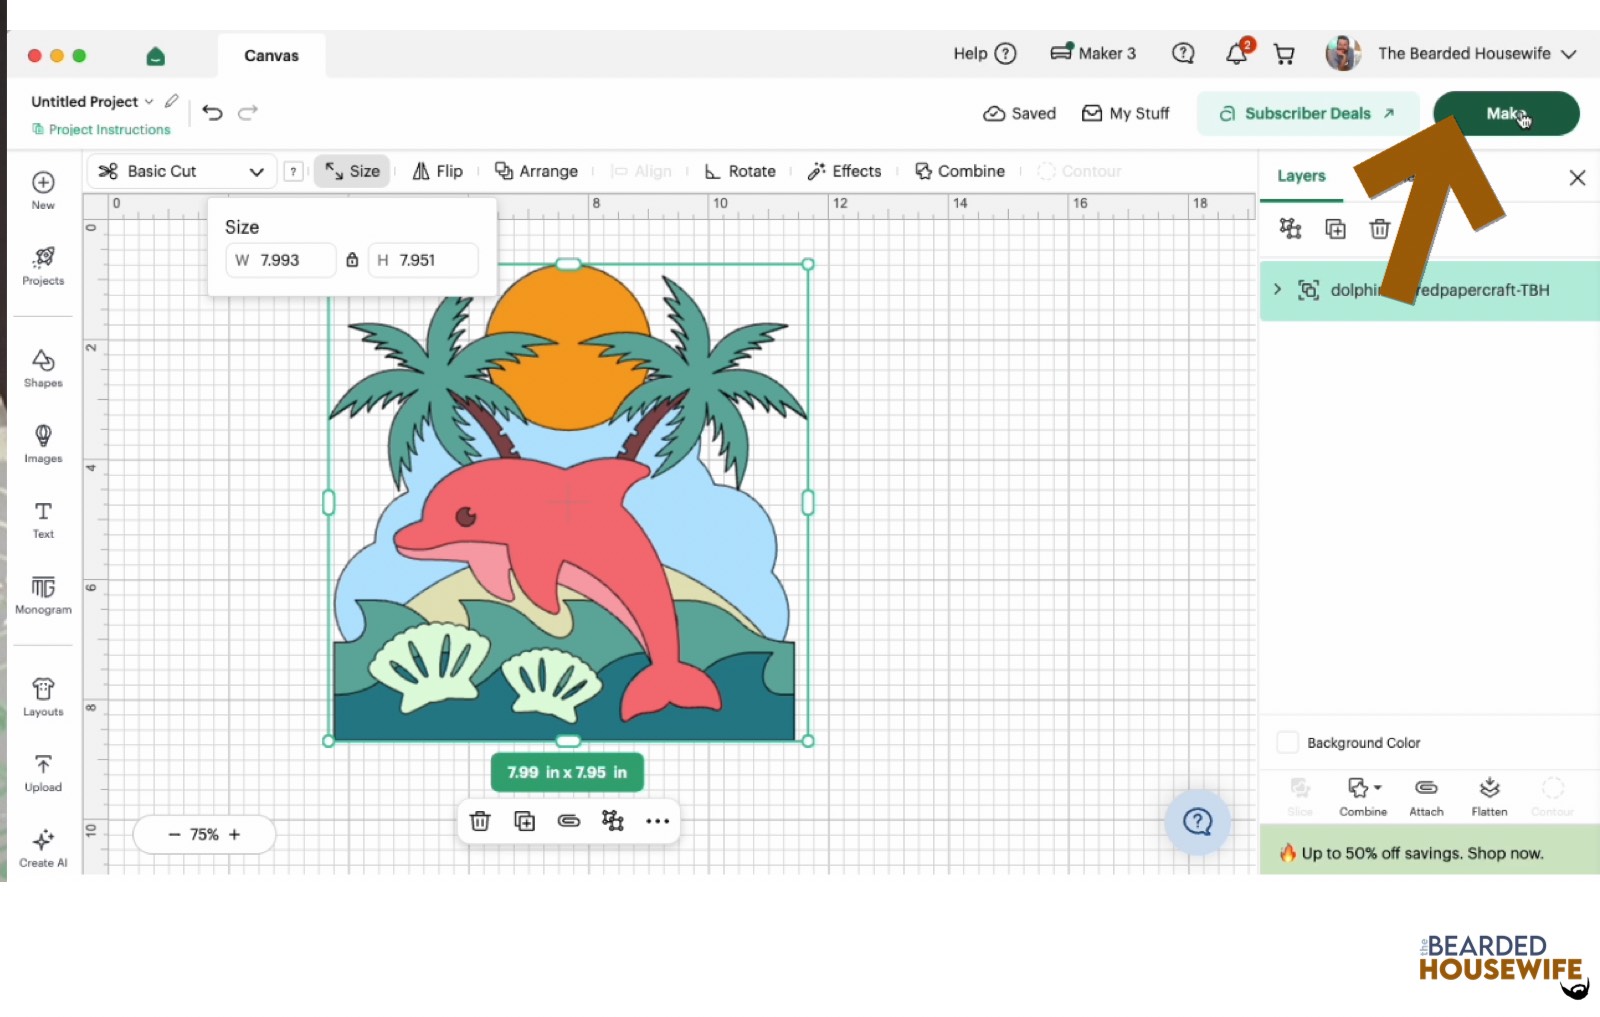
Click the GREEN Make It button.
STEP 4 - MAKE YOUR MATERIAL SELECTIONS AND PREPARE YOUR MATS
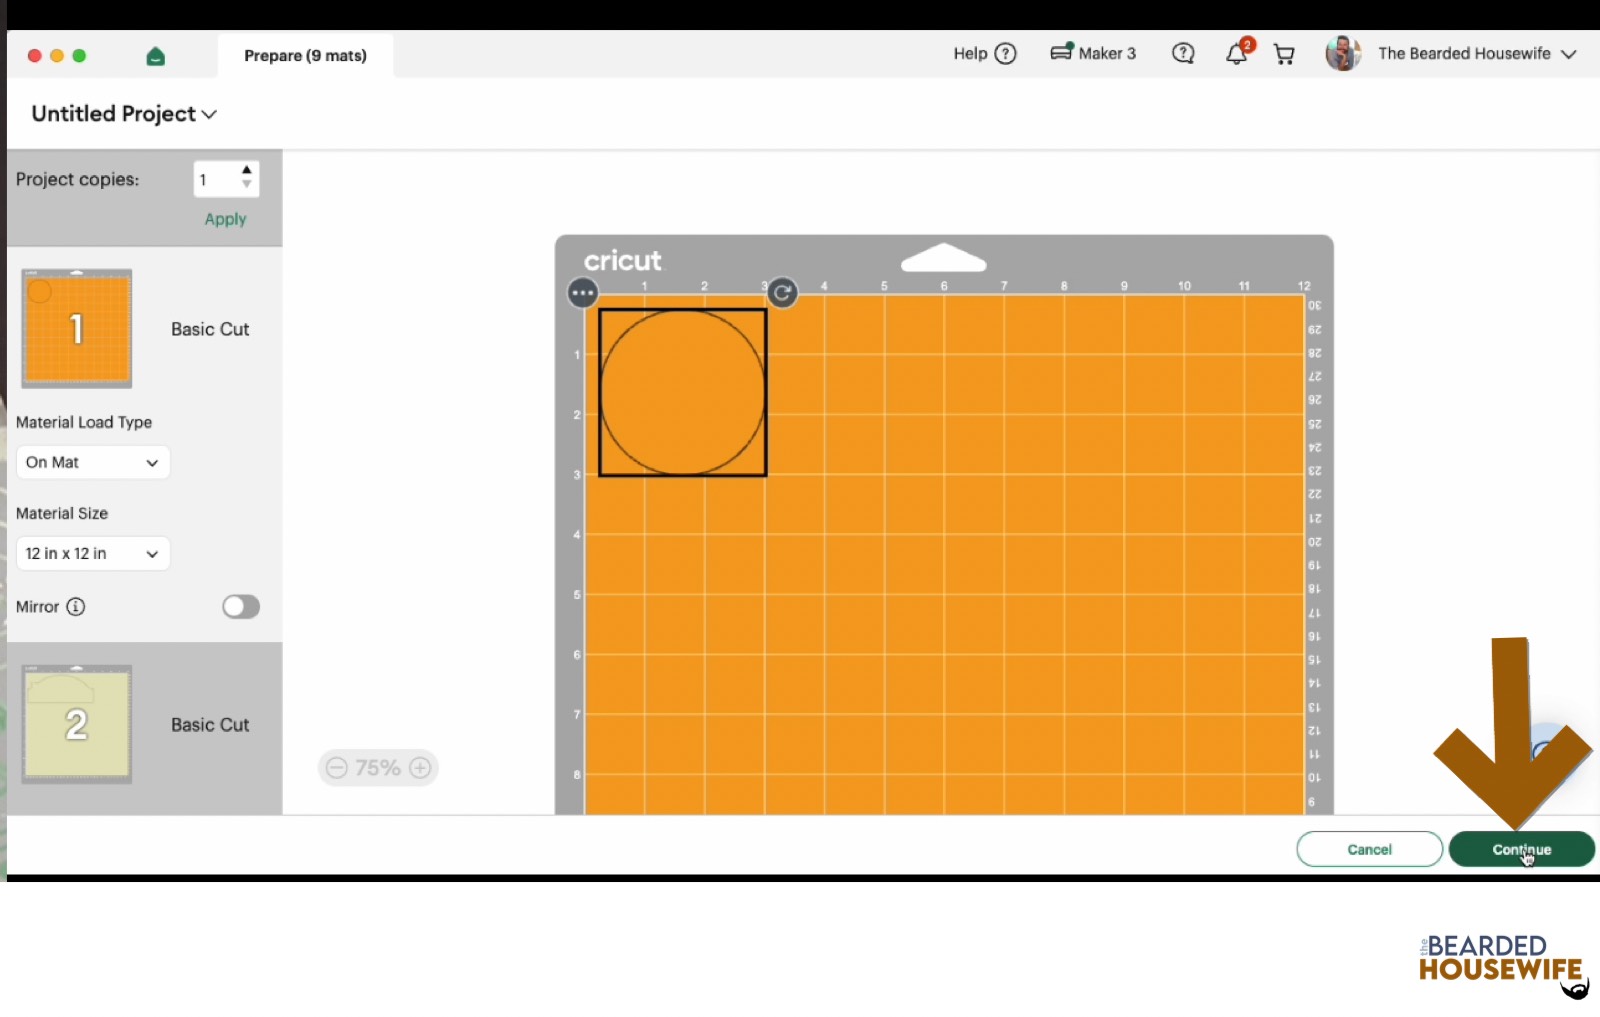
You will see the layers for this project in the mat preview.
Click the CONTINUE button.
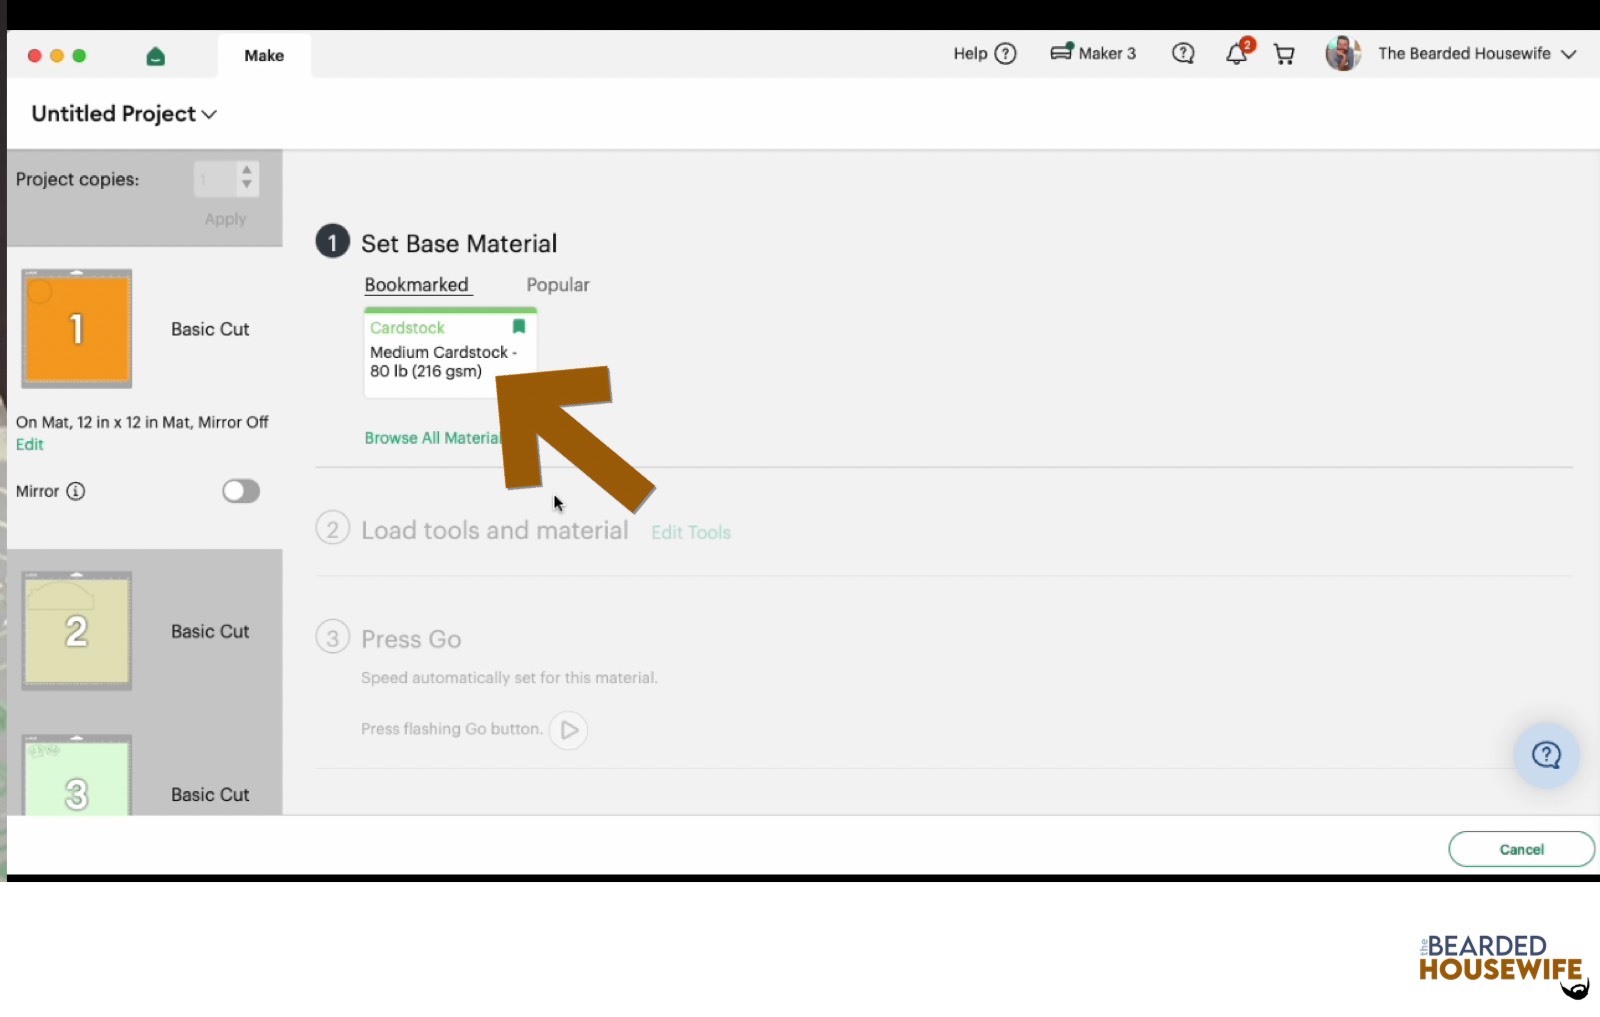
For this tutorial, I am using Medium Cardstock. Select your materials accordingly.
Attach your cardstock to the Cricut StandardGrip Mat using the Cricut Brayer.
STEP 5 - LOADING YOUR MATS AND CUTTING YOUR MATERIALS
To load the mat into the machine, press the double arrows button. Do make sure that the mat is positioned under the mat guides.
You will know the machine is ready to cut your material when you see the flashing "C" button. Press that to start the cut.
Follow Design Space prompts to change out the mats.
Once the cut is complete, make sure to peel the mat away from the cardstock rather than the cardstock from the mat. This will prevent any curling of your design.
Repeat Step 5 for until all layers have been cut.
STEP 6 - ASSEMBLE YOUR PROJECT
Now that everything is cut, we can start to assemble the paper craft.
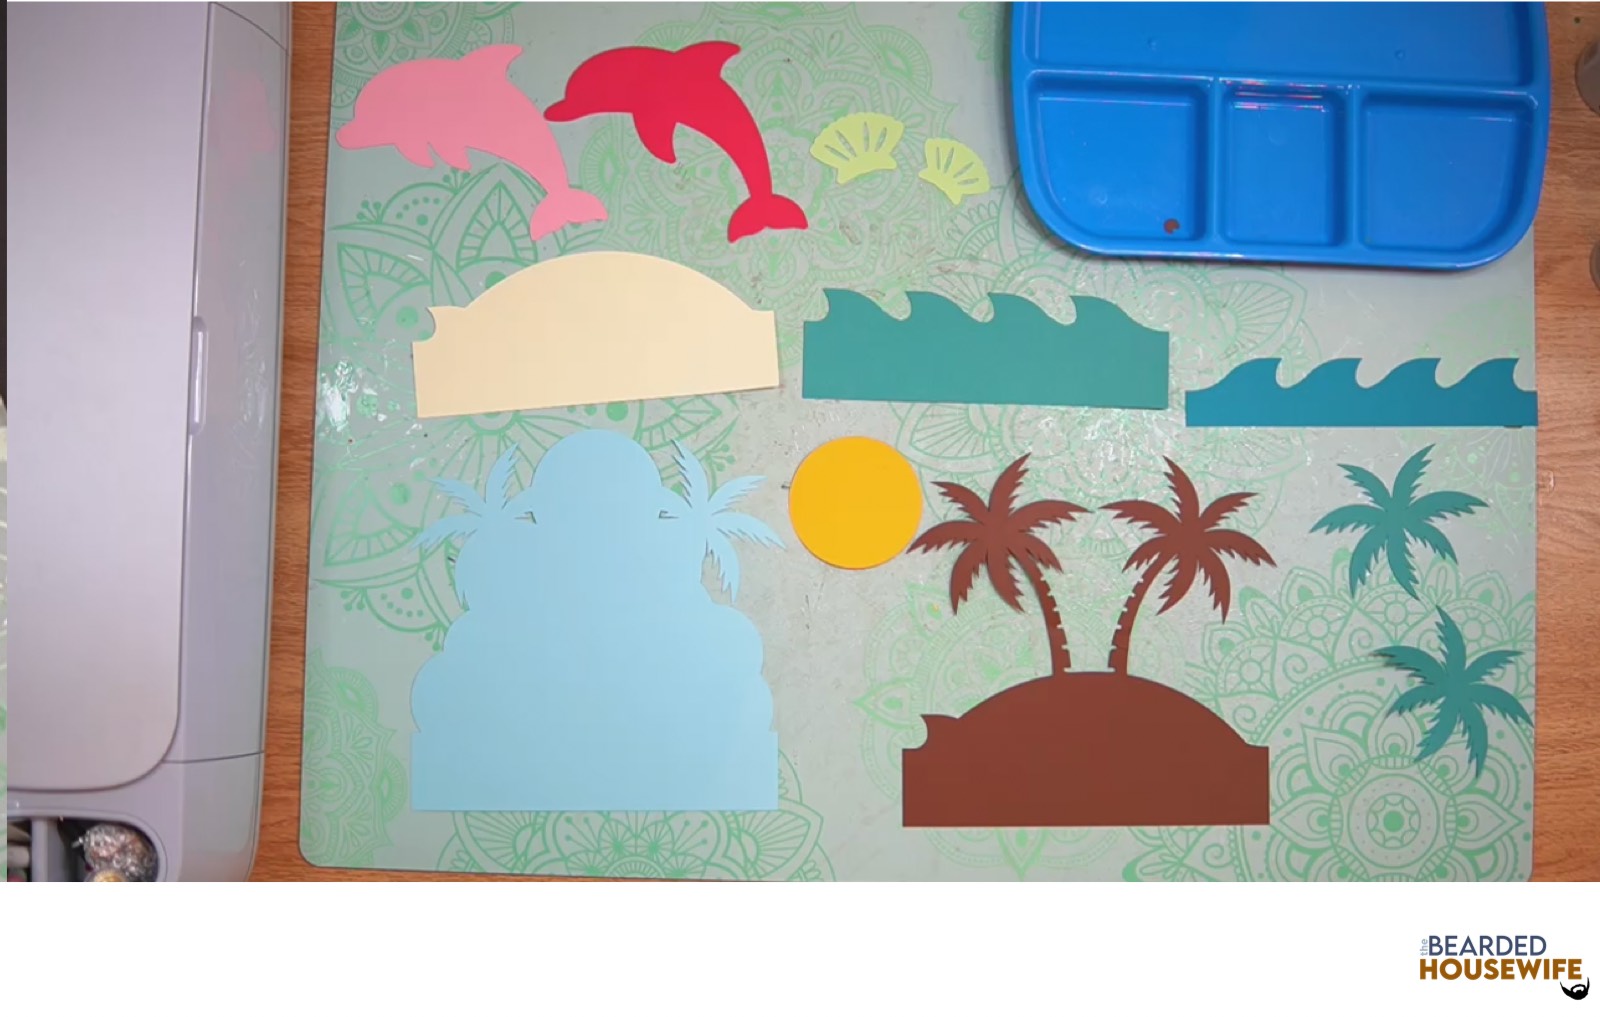
Add foam squares to the back of the layers if desired.
Begin layering the design together from front to back. Refer to the Layering Guide for this.
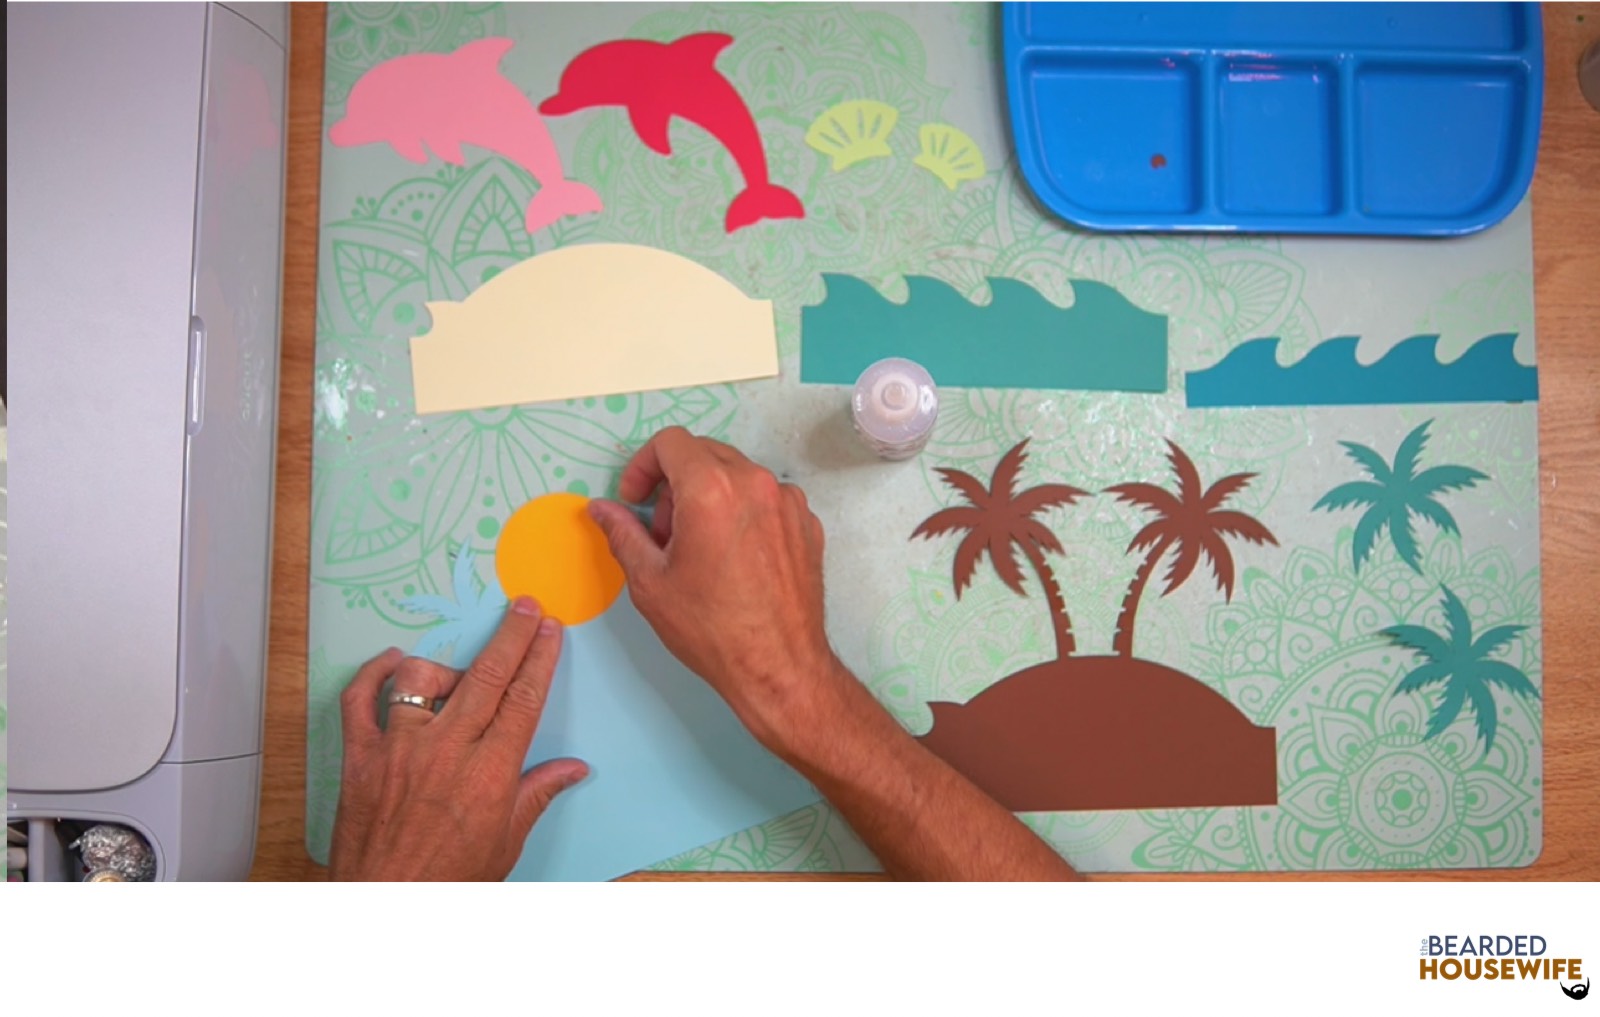
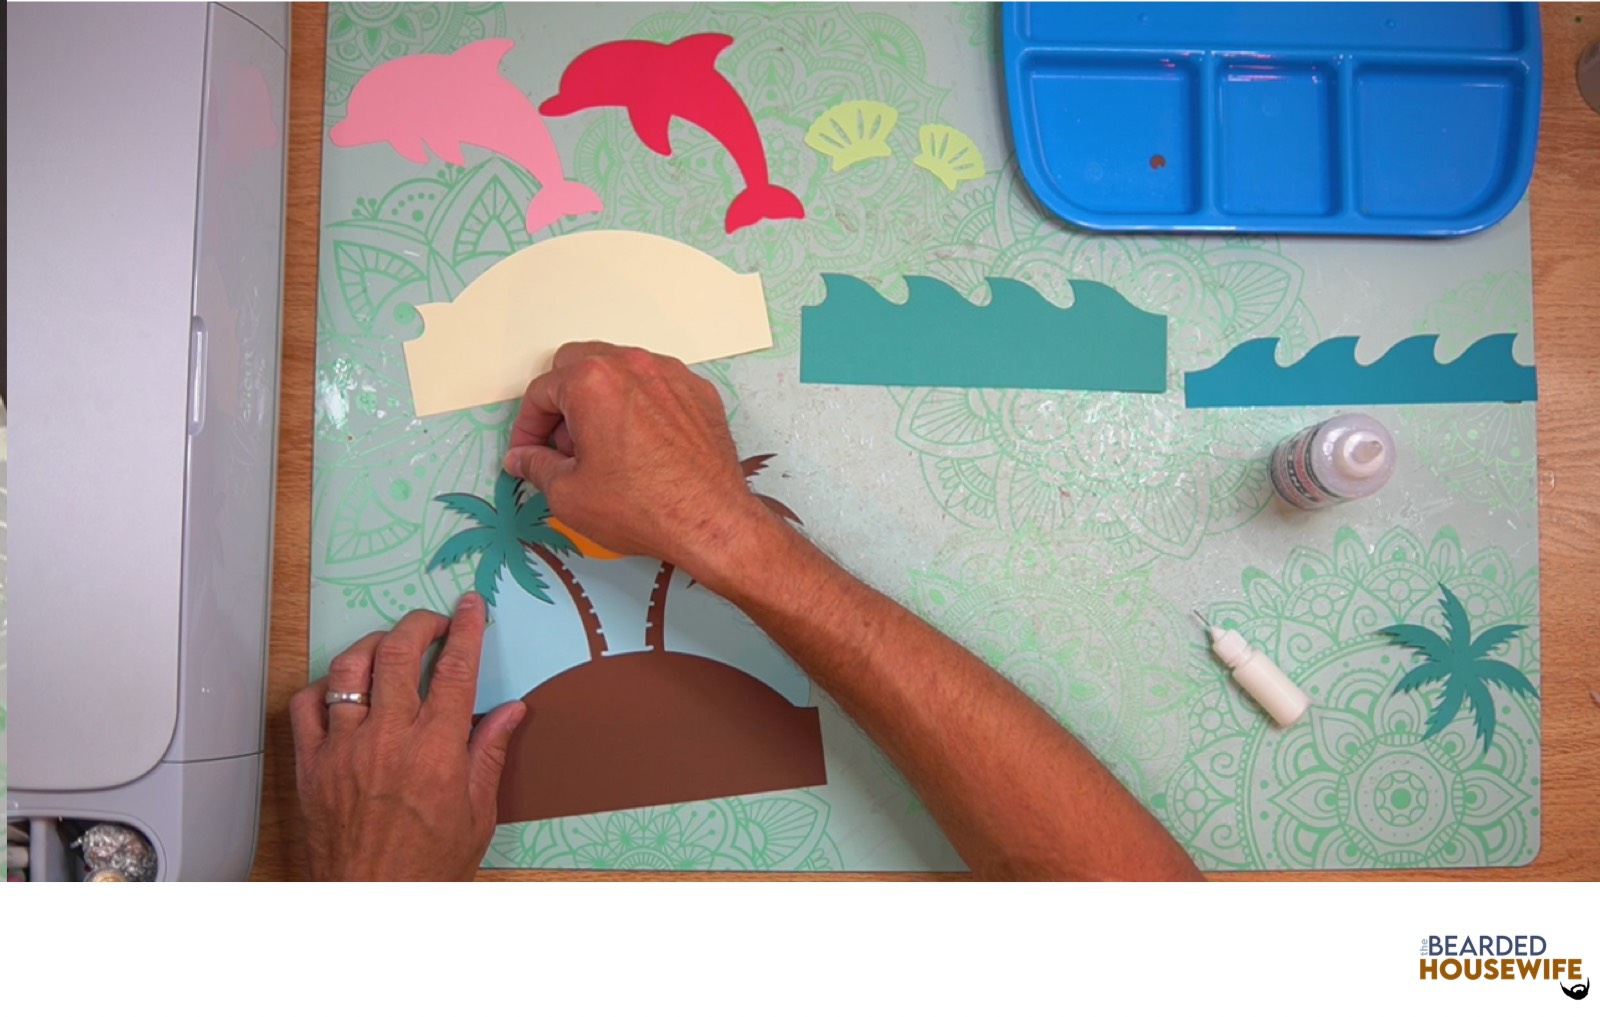
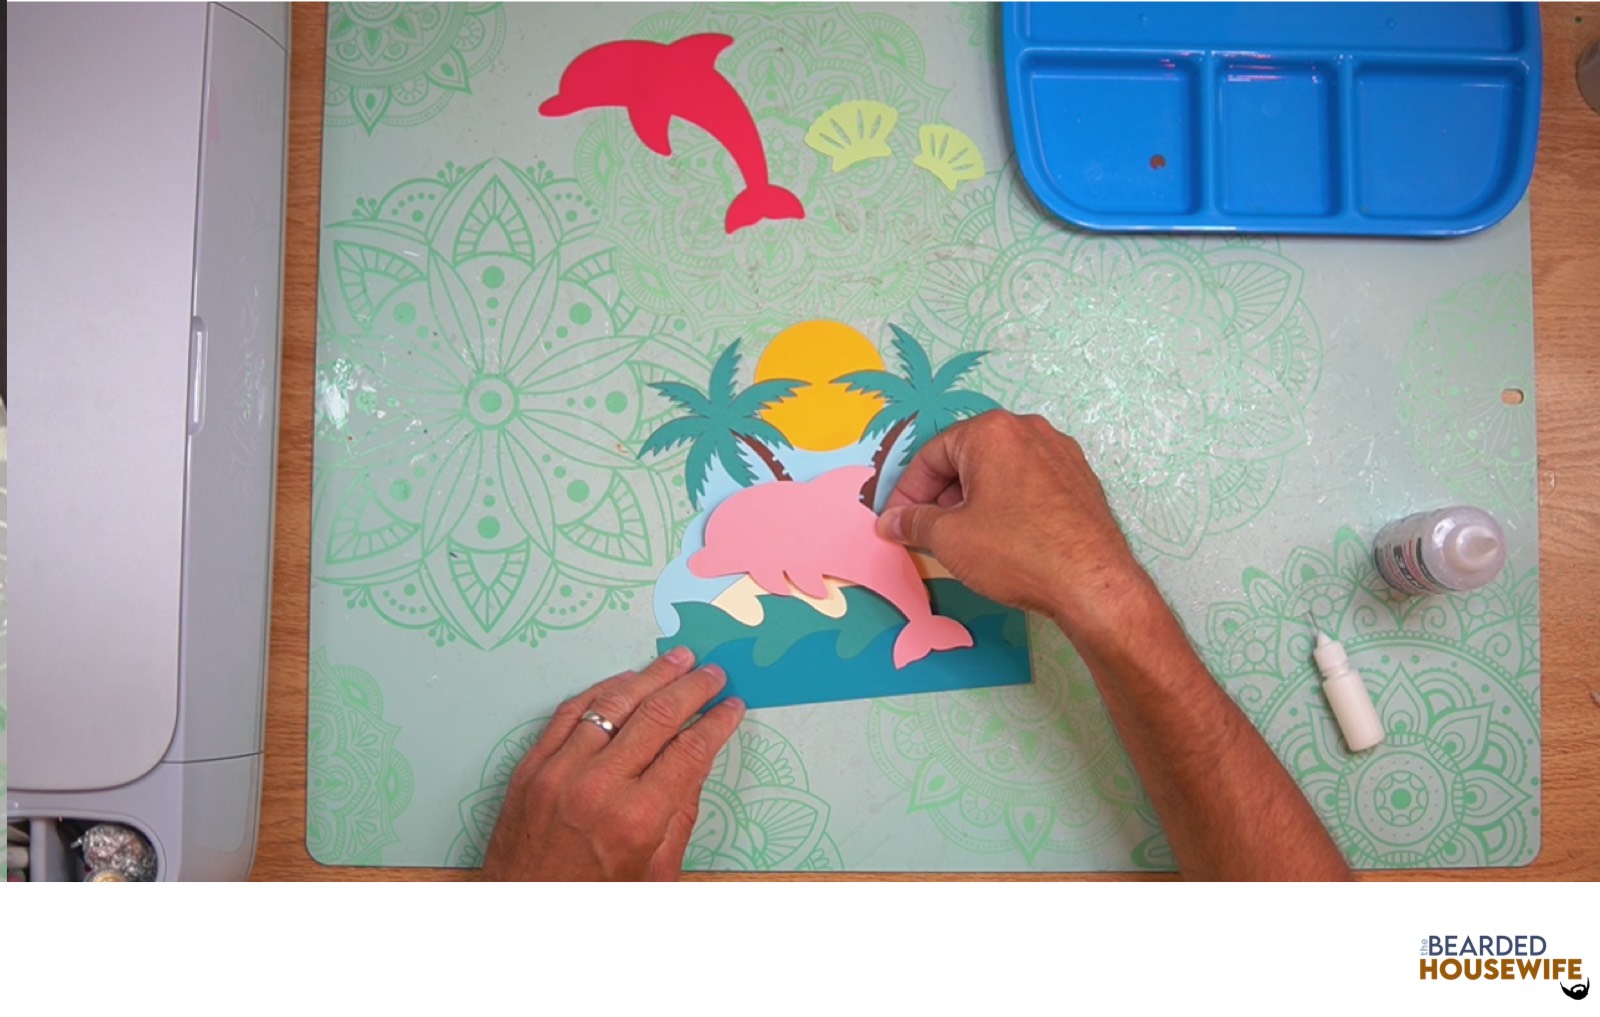
Your project is complete.
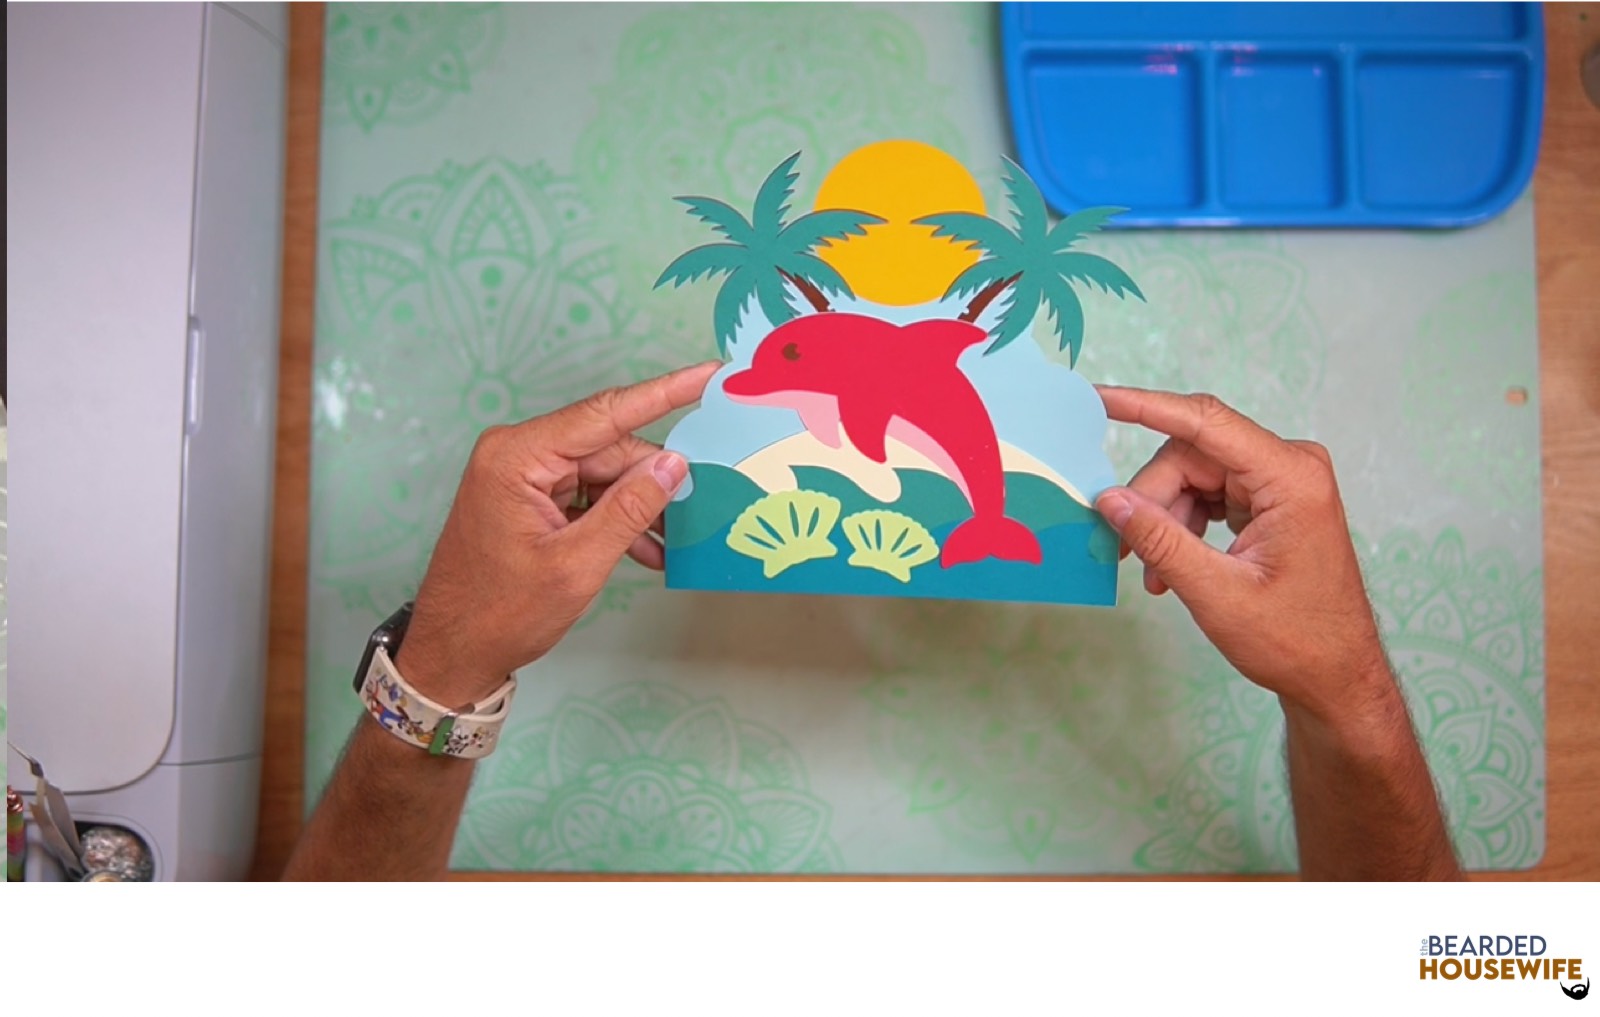
Post a photo in the comment section or tag your projects on social media @thebeardedhousewife using the hashtag #beardedhousewife! I’d love to see how yours turn out!!
Happy Crafting!

WANT TO MAKE GREETING CARDS AND PAPERCRAFTS ON YOUR CRICUT?
JOIN THE BEARDED HOUSEWIFE CRAFTERS CLUB TO GAIN ACCESS TO HUNDREDS OF SVG CUT FILES, PROJECTS, AND OUR EXCLUSIVE COMMUNITY!
WANT TO REMEMBER THIS POST FOR LATER? PIN THIS POST TO YOUR FAVORITE PINTEREST BOARD!